With the abundance of sweet, juicy peaches, it is the perfect time to make these darling little cakes. They not only look good, they taste peachy keen, too. (Sorry, I couldn’t resist!) In fact, they’re so good that I’ve baked them twice over the past 4 days. They’re also quick and simple to make, with a “couch to mouth” time of 45 minutes, including five minutes of cooling time. Not bad for a somewhat fancy-looking dessert. Top it with some French Vanilla ice cream, and you’ll be in for an unforgettable summer treat. I promise!
Tag Archives: ice cream
microwave mocha “cup” cake
 After resisting for so long, I’ve finally succumbed to making microwave “cup” cakes after watching Iron Chef Michael Symon prepare them on his new Cooking Channel show, Symon’s Suppers. Over the years, I’ve seen various recipes from food bloggers, many of them with mixed reviews. The chief complaint I’ve read about microwaved cup cakes is that they can be too dense and dry. Well not these! They turned out surprisingly well, considering it only took about 5 minutes and minimal effort on my part. To top it off, clean up was easy with only one bowl to wash. Continue reading
salted caramel ice cream
While much of the Northeast United States is being blanketed by snow from an historic October storm, here in Southern California, we are enjoying an absolutely gorgeous 75-degree day. The sun is shining and the skies are blue this afternoon, and it’s a perfect time to indulge in a scoop (or two) of some homemade Salted Caramel Ice Cream. This is one of my favorite ice cream flavors. Actually, it is quite possibly the best ice cream I’ve ever had. Period. It is so smooth and buttery, with a nice balance of sweet and salty flavors. Everyone who’s tasted this ice cream has raved about it, even those who aren’t ice cream fans. It’s that good! Continue reading
enjoying the little things
When Passions Collide
Food and photography are two of my passions. Actually, Chris and I share these two interests and as a result, we are able to spend a lot of time together doing these two things we enjoy. We have different skills and interests in the kitchen and behind the camera and we complement each other very well. While we both like to cook, Chris is more interested in the technical aspects of photography, while I gravitate towards food plating and styling. As you’ve read in previous blog entries, our Cuisinart ice cream maker is in constant use. This week alone, we’ve made three batches of ice cream. Our challenge with it is not in the creation or consumption, but in photographing it. Unlike professional food photo shoots where mashed potatoes or frosting whipped with powdered sugar stand in for the real thing, we photograph real, edible ice cream. This means that we have about 5 minutes before the ice cream melts and drips and looks more like a mess than a delicious icy treat. It does not help that it is the middle of summer and our house does not have air conditioning. I spend a good amount of time planning the photo with a stand-in bowl or plate and then replace it with the real thing at the last possible moment. Chris sets up the camera and takes test shots before I bring out the “models.” It’s usually a blitz of activity for a few minutes before the ice cream starts to melt and then the clean-up starts. We usually get a few shots we like that I share with all of you.
Light Quality and Shadow Contrast
One of the first photography techniques we learned is how to use aperture settings to take more creative photographs. You probably noticed that many of our food photographs are close-ups of with a blurry background (photograph above on the left). That technique uses a wide aperture setting to create a narrow depth of field. We also tend not to pay too much attention to lighting techniques, partly because we didn’t know much about it and partly due to the fact that the food we were photographing was our meal that was getting cold.
I ran across this amazing blog from Taylor, a food photographer living in Charlotte, NC, who shares food photography tips and tricks. His tutorial on Light Quality and Shadow Contrast helped us to clearly understand those two basic factors regarding the impact of lighting on photography.
We set out to create a mini-studio in our dinning room using materials we had on hand to try to replicate the techniques described in Taylor’s tutorial. We taped parchment paper to the glass in our french door to diffuse the natural sunlight coming in (affecting the light quality) and used a white foam board to reflect light from the opposite direction (to control shadow contrast). The result is the photograph above on the right. We were pleased with the outcome and with our new found photo techniques. We hope you like it too.
homemade ice cream
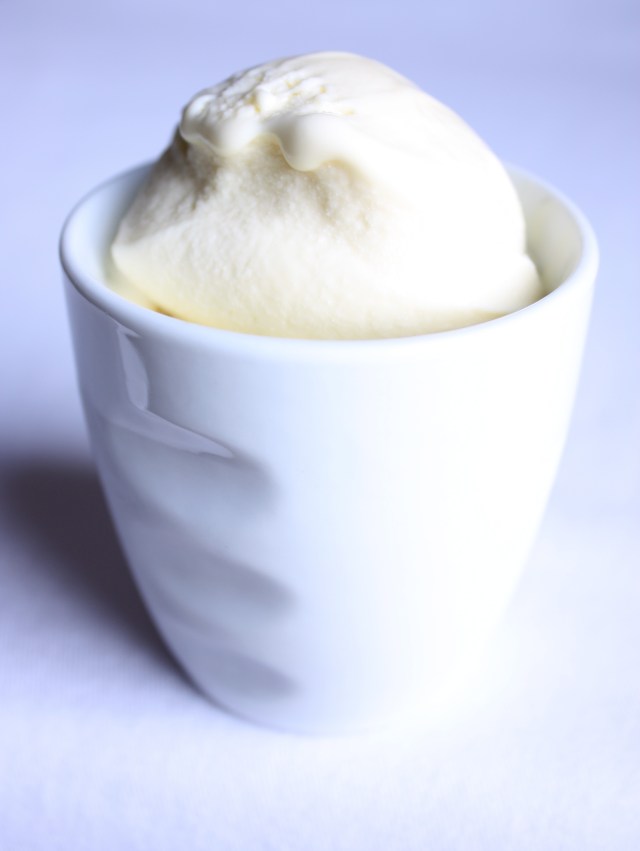
Our current obsession is homemade ice cream – Chris, with making it, and me, with eating it. Since January, he’s made sure our freezer is stocked with his delicious creations such as Meyer Lemon-Olive Oil (pictured above), Salted Caramel, and Pistachio ice creams. There were a couple that did not make the cut – Hazelnut Mascarpone and the Salted Almond – but I applaud his efforts and encourage his pursuit of inventive and out-of-the-ordinary flavors. My current favorite is the beautiful pale green Pistachio, with little flecks of the nuts left in. Yummy! The cost for a quart is about $5, a little more expensive than the store-bought kind, but it’s totally made with a special ingredient – love!
Bring on the long hot days of summer! I’ve got my spoon.


